Attaining Ten-Millionths Bore Accuracy
Conventional honing has been continuously improved and automated, now allowing boring accuracies to be measured in millionths.
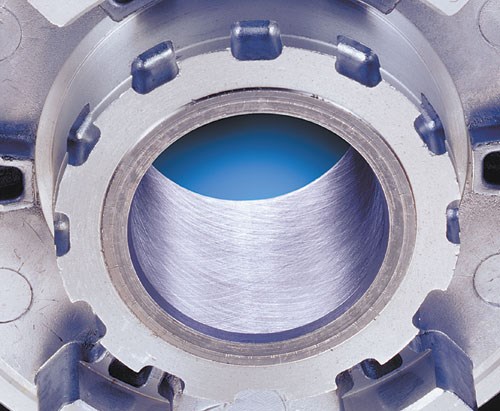
Technology now exists to allow makers of products with bored holes to achieve accuracies measured in millionths. This technology can “fix” bore geometries and can achieve double-digit process capabilities (Cpk), all in automated, high-throughput production.
The truth is, though, this technology isn’t new at all. Conventional honing has been hiding in plain sight for about 70 years, quietly and continuously being improved, refined and automated to make it accessible and capable for 21st century part requirements.
Many people in industry have misconceptions of honing being a messy, manual process, but today’s honing is increasingly an automated, multi-spindle process. This new generation of machines has become the “ten-millionths” solution for bore accuracy, enabling OEMs to meet a host of challenges, from diesel and small-engine emission requirements to overseas competition.
Meeting Demand
Manufacturers have tightened the dimensional requirements for parts to achieve better performance from end products, including higher power densities, tighter sealing, and less hysteresis, noise and vibration. Diesel fuel injectors are a good example. Typical print tolerances today are 0.0013-mm (0.000051-inch) straightness per side on the bore, 0.001-mm (0.00004-inch) taper in the bore, and 0.0013-mm (0.000051-inch) roundness. Manufacturers in production mode strive for less than 0.001 mm (0.00004 inch) on total measured bore variation when using scanning air gages, with roundness less than 0.0005 mm (0.00002 inch). They match fit plungers with 0.006- to 0.007-mm (0.00024-inch to 0.00028-inch) clearance, with a 0.001-mm (0.00004-inch) total tolerance on the fit. Surface finish parameters for these parts today include Rz, Rvk, Rpk, Rk, and so on. As the match clearance gets smaller, surface tribology and retention of a lubricating film become more critical. Overlaying the need for precision is the requirement for high process capability—an area where servo-controlled honing shines.
When holes produced satisfactorily on lathes suddenly have to meet a process capability of 1.67 or 2.0 Cpk, turning operations may fall short. That kind of capability requires a process that is easy to “dial in” with high precision and is very stable once it’s established. A computer-controlled hone can easily get within 0.00025 mm (0.000010 inch) of a specified size, and with the resolution on the tool feed systems of today’s machines, the variability is small.
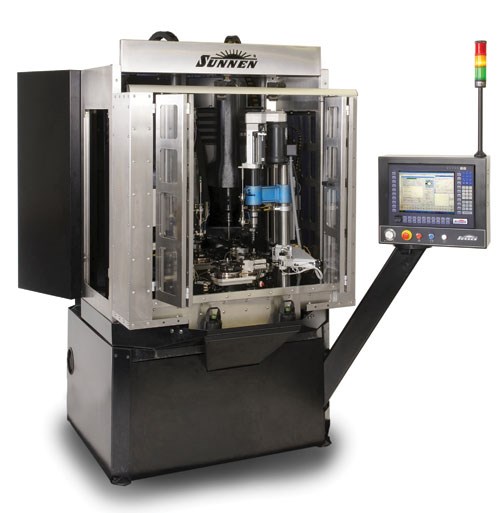
These honing machines use a closed-loop tool feed mechanism to automatically control hole size, using air-gage probes adjacent to each spindle. These systems perform with minimal variability (key to high process capability) and no operator intervention, while producing thousands of parts. They optimize a bore’s shape, size and surface, all in one setup, with process capability of 1.67 Cpk or more and downloadable SPC data.
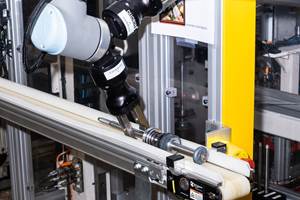
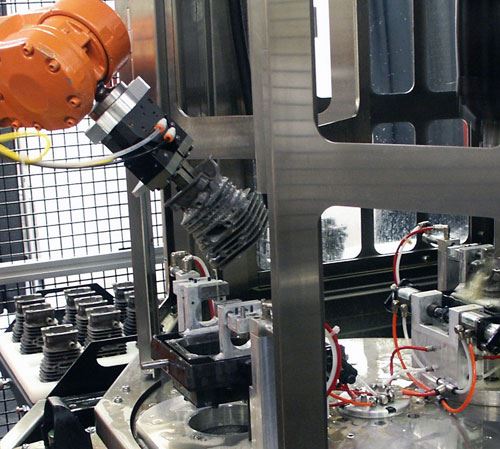
Advanced computer-controlled honing systems can correct a multitude of errors in bore geometry, too, such as barrel, taper and centerline bow, while optimizing lubrication with a crosshatch finish. The Windows-based controls are designed to provide the operator much the same sense of control as experienced in the manual honing process, which has long been considered an art. Even the crosshatch angle can now be dialed in at the control, and then held constant from top to bottom in the bore, thanks to servo control of spindle rotation and stroking motion. An air-gage-equipped machine can sense a misshaped bore, such as one that is barreled or tapered, and the machine will automatically correct the part. Integrated with other servo accessories, such as rotary tables, linear feeds, pick-and-place or robot-handling systems, a single machine can now process 15 million or more parts per year running untended.
Refining the Crosshatch
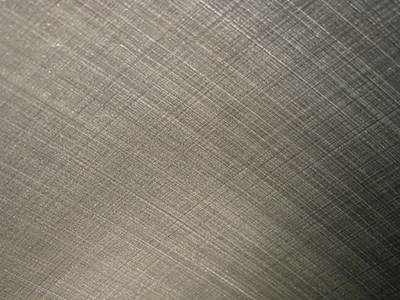
Honing is also unique in its ability to consistently produce a specific surface finish with a selectable crosshatch pattern. Makers of gears, hydraulic valves, small engines and diesel cylinder liners use a range of surface finish parameters (plateaued, Rpk, Rvk, MR1, Ra, Rsk, Rz, and so on) to tweak the performance of their products. Honing before the hobbing operation improves a gear’s centerline-to-tooth accuracy, resulting in quieter, longer-lasting drives. The opposing helical patterns of the crosshatch also prevent gears from “walking” and binding on a shaft, while controlling the lubricating oil film between mating surfaces. “Single point,” uni-directional, rotary machining processes leave a faint “threaded” finish, which can lead to lubricating films being pushed out of the bore. Valve manufacturers have found that electrically actuated hydraulic valves with a conventionally honed bore operate more reliably at reduced voltages, with lower hysteresis.
Automotive, marine and air race winners since the 1930s have depended on the performance edge they get from precisely sized and finished cylinder bores. Now computer-controlled and automated, that same technology is ready to give mainstream consumer products a performance advantage as product designers strive to get more from every component.
— Sunnen Products Co.
Related Content
Arch Cutting Tools Acquires Custom Carbide Cutter Inc.
The acquisition adds Custom Carbide Cutter’s experience with specialty carbide micro tools and high-performance burrs to Arch Cutting Tool’s portfolio.
Read MoreDN Solutions Responds to Labor Shortages, Reshoring, the Automotive Industry and More
At its first in-person DIMF since 2019, DN Solutions showcased a range of new technologies, from automation to machine tools to software. President WJ Kim explains how these products are responses to changes within the company and the manufacturing industry as a whole.
Read MoreEliminating Automotive Defects Per Million With Automated Visual Inspection
This automotive manufacturer virtually eliminated PPM defect complaints after implementing an automated visual inspection system at its facility.
Read MoreSandvik Coromant on Acquisitions: Solutions Entail More Than the Tool
A Q&A with global president Helen Blomqvist explores the cutting tool maker’s acquisition of CAM software companies and how this connects to, among other things, electric vehicles.
Read MoreRead Next
When The Bore Needs More
Somtimes high precision is mandatory. This artilce looks at honing as a process to meet tight specs.
Read More3 Mistakes That Cause CNC Programs to Fail
Despite enhancements to manufacturing technology, there are still issues today that can cause programs to fail. These failures can cause lost time, scrapped parts, damaged machines and even injured operators.
Read MoreThe Cut Scene: The Finer Details of Large-Format Machining
Small details and features can have an outsized impact on large parts, such as Barbco’s collapsible utility drill head.
Read More



.png;maxWidth=300;quality=90)

.png;maxWidth=300;quality=90)


