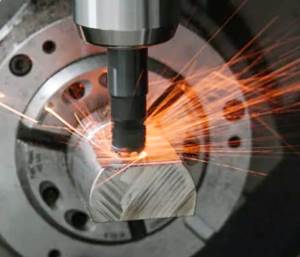
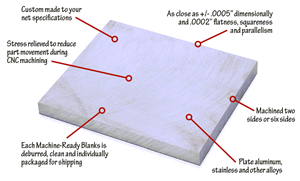
Intricate parts require intricate measurements, and tolerances for most of the work performed at 3-D CNC are typically within 0.0001 inch. Nonetheless, precision alone wouldn’t have been enough when the company sought in 2005 to update its quality control processes. To maintain competitiveness, the company needed a solution that could also reduce measuring times and remove much of the labor from the inspection process.
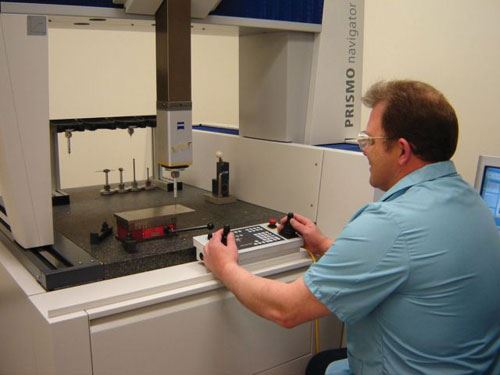
It found that solution in the Prismo navigator 7/9/5 CMM from Carl Zeiss Industrial Metrology (Maple Grove, Minnesota). Equipped with a precise sensor and robust software, the machine delivered exactly what the company was looking for. To 3-D CNC’s surprise, however, it also delivered unexpected benefits, including an entirely new source of revenue and a new window into the company’s own production processes.
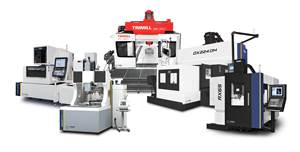
Based in Hutchinson, Minnesota, 3-D CNC specializes in precision tooling, close-tolerance component parts, wire EDM services, automated manufacturing equipment and prototypes. With customers hailing from sectors known for intricate, often tiny components—the medical device, computer hardware, industrial automation, semiconductor, and electronics industries, among others—the company adheres to stringent inspection standards driven by both customer needs and internal quality controls. The first step is incoming part inspection, which ensures that parts match their prints before the company proceeds with the next manufacturing process. From there, parts undergo in-process inspections after every phase in their production before moving on to final inspection. This can vary from 100-percent inspection on all parts to only critical features on one part per lot. In addition to these measurements, the company performs reverse engineering, analysis testing of tooling components and calibration validation of go/no-go gaging tools and tooling fixtures.
Prior to installing the Zeiss CMM, 3-D CNC employed a vision system and open-layout equipment such as height and dial indicators, gage pins and blocks, granite surface plates, and squaring blocks and vises. Although this was sufficient to obtain many needed measurements, the required time and labor made the process less than cost-effective.
Staying competitive with manufacturing costs and inspection precision would require a system capable of measuring a linear distance of 4 inches within tolerances of +/- 0.0001 inch. Other priorities included user-friendly software and capabilities for performing profile measurements of curved features. Research began by seeking product information on Web sites from top CMM manufacturers. From there, the company solicited system recommendations based on current and future targeted tolerances, and it had mini capability studies conducted on test parts.
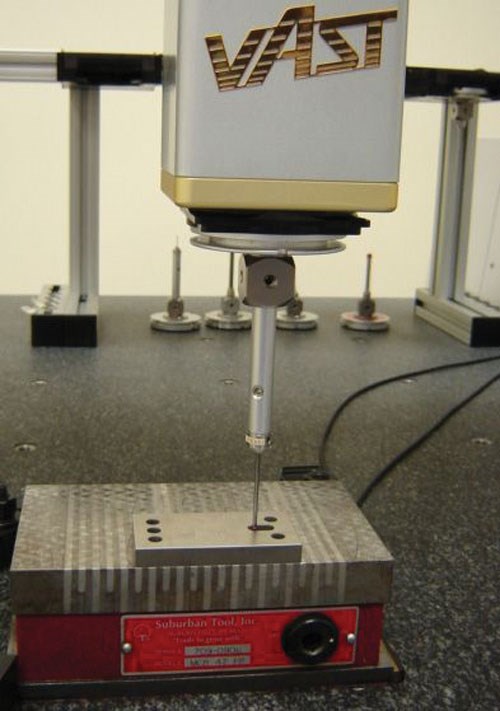
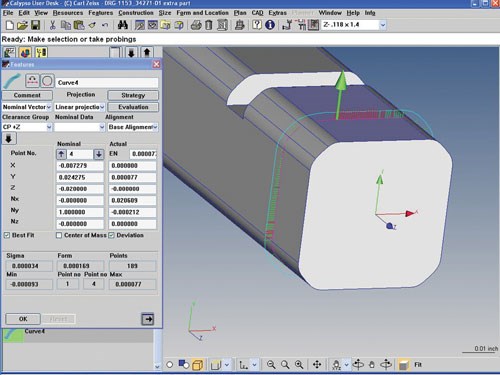
That extensive search led the company to the Prismo navigator 7/9/5. In addition to the CMM’s reliability, a deciding factor was the integrated ISC controller’s ability to provide real-time, dynamic correction of machine and stylus. The VAST gold sensor with navigator technology could meet target tolerances at scanning speeds as fast as 300 points per second. Finally, curve, an extension to the machine’s Calypso measuring software, could provide sufficient capability for both 2D and 3D curve measurements and calculations, the company says.
Since installation, the CMM has reduced inspection time on a number of jobs to varying degrees, depending on the project type and size, says Ken Wraspir, quality manager at 3-D CNC. As an example, he cites one particular project that required inspection of all features on all parts. Additionally, the job required shipping a copy of the inspection data with each part as well as sending a copy with the customer electronically. With the Prismo, inspection time for this job was reduced by 75 percent compared to the previous vision and layout measurement process. Additionally, the CMM operator was free to perform other tasks while the machine conducted the measurements. “This reduction in inspection time and equipment really confirmed the need for the Zeiss CMM,” Mr. Wraspir says.
He adds that the reliability of the machine has been “outstanding.” Since the purchase in 2005, the machine and software have been up and running every day. It is robust enough to handle any potential problems that might occur with novice CMM operators while still operating at its full capacity and accuracy. Moreover, the Calypso software with curve has reduced lead times by enabling manufacturing personnel to conduct their own in-process inspections, the company says. Operators can adjust machine settings based on simple graphic selections. Curve can also perform profile measurements on parts such as spheres, fan blades and curved medical devices.
3-D CNC has also come to appreciate the software’s AutoRun feature. Initially, the company didn’t expect to get much use out of this capability because lot sizes are typically small. In 2010, for example, almost half of jobs consisted of only a single part, and another 40 percent ranged between 2 and 24 parts per order. That changed when a major customer requested a job consisting of 200 parts that would repeat quarterly. All 200 parts would require 100-percent inspection on critical features. To meet these requirements, the company created two pallets that would hold 25 parts each. With the AutoRun feature, the CMM could inspect each pallet in two hours unattended. Meanwhile, the operator was free to load the next pallet and conduct other tasks. “Our customer was so impressed with our CMM measurement efficiency that it placed an order immediately for two pallets to try the AutoRun feature on its own Zeiss CMM,” Mr. Wraspir recalls.
The CMM’s benefits have extended beyond the company’s inspection processes. For example, providing a three-dimensional picture of operations on a wire EDM or VMC improves programmers’ knowledge of how their equipment is performing and what is needed to produce a part within tolerance. “Instead of just telling them the part is out of tolerance, we can actually show them what is wrong,” Mr. Wraspir says.
The machine has also provided an unexpected new source of revenue. As knowledge of the machine’s accuracy spread, new customers began approaching 3-D CNC for third-party inspection services and to solve various measurement discrepancies, Mr. Wraspir says. In one instance, a customer needed to know whether radii with only 25 percent of their circumferences were made to print, but it could not get results to repeat with its own vision system and CMM. Inspection personnel at 3-D CNC suspected that the form values of the radii were causing problems with getting the measurement systems to repeat. With Calypso curve, the company was able to prove that the radii fell within the required tolerance for size and location. The parts the customer thought were scrap were actually well within tolerance.
The Zeiss system has proven its reliability in cost-effectively inspecting small, intricate parts. In the future, however, the company anticipates the need to perform even more precise measurements with styli that are even smaller than the 0.5-mm-diameter models they currently use. One example is go/no-go gages. Some of the models the company manufactures now measure only 0.06 by 0.06 by 0.4 inch and have internal and external curved features with profile tolerances of 0.00008 inch. Nonetheless, these customers have predicted that future gages might require tolerances as tight as 0.00005 inch and contain features that require probes as small as 0.02 inch in diameter. Despite these predictions, both 3-D CNC and its customers sufficiently trust the capabilities of the Zeiss system to move into the future with confidence, Mr. Wraspir says.



.png;maxWidth=300;quality=90)


.png;maxWidth=300;quality=90)


