Do's And Don'ts For Keeping Dial Indicators In The Game
Just because dial indicators have been around since the early 1900s, don't expect them to fade away with the last century. This tool's long-term popularity is well earned.
Just because dial indicators have been around since the early 1900s, don't expect them to fade away with the last century. This tool's long-term popularity is well earned. Dial indicators offer good resolution at low cost, but that is not the main reason people still use them.
Beyond providing easy-to-read quantitative measurement, dial indicators give users a comparative sense that their parts are in the ballpark. The user simply notes if the indicator's needle is within tolerance bands or, simpler still, if the needle lies within red sections highlighted on the dial. No interpreting is necessary.
Dial indicators vary widely in type, size and range. All translate variations (through internal movement of a plunger) into dial readings. Some will indicate dimensional variations as small as 0.00005", so you must handle these sensitive mechanisms with the same devoted care you use with other precision equipment.
To maintain high levels of quality and precision, take heed of the following tips.
DO:
- mount dial indicators close to short support columns on test sets or comparators to avoid holding rod deflection.
- keep the reference surface clean and level, with the test set base clean and seated positively.
- mount your indicator securely to the fixture or holding device.
- keep the indicator spindle and point clean, using a soft, lint-free cloth.
- make sure the indicator hand moves toward the minus side of the dial as workpiece dimension decreases.
- handle the gage lightly, so it can seat itself on the workpiece.
- use diamond, tungsten carbide or hard chromium-tipped indicator points whenever it's likely that the contacts will be subject to heavy wear.
- store dial indicators in a safe, dry place, and cover them to keep the dust and moisture out.
- test indicators under gaging conditions at intervals during the operating day. You can gage a part twice, then compare its readings to a master part.
- clean dials with soap and water, benzene or soft eraser. Frequency of cleaning depends on the type of gaging and the contaminants.
DO NOT:
- subject indicators to harsh, sudden blows. If blows are unavoidable, use a cushioned movement indicator.
- overlook accessories that will make your indicator more efficient, more adaptable and more versatile, such as lifting levers and right angle attachments.
- oil the spindle bearings except under special conditions. Then do it sparingly and never use grease.
- tighten contact points or adapters too far against the rack spindle, as the strain will cause distortion and make the spindle bind and the mechanism stick.
- clamp the indicator against the stem with a set screw. Too much pressure will make the rack spindle bind.
- lock the indicator in position until you've set it carefully under proper gaging tension, that is, at least a quarter turn from its “at rest” position.
- oil an indicator that has been idle for some time. If the spindle sticks, work it in and out by hand until it slides freely on its own bearings.
- drill holes in the back of the case. Chips will get inside and ruin the movement.
- use an indicator that has been dropped or struck until you have it tested thoroughly.
- use your dial indicator for anything but what it is intended for—accurate gaging. It's not a jackhammer or paperweight.
Related Content
How to Calibrate Gages and Certify Calibration Programs
Tips for establishing and maintaining a regular gage calibration program.
Read More6 Machine Shop Essentials to Stay Competitive
If you want to streamline production and be competitive in the industry, you will need far more than a standard three-axis CNC mill or two-axis CNC lathe and a few measuring tools.
Read MoreChoosing the Correct Gage Type for Groove Inspection
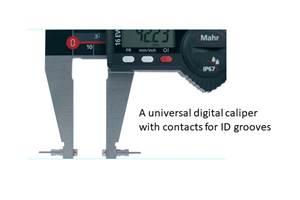
Grooves play a critical functional role for seal rings and retainer rings, so good gaging practices are a must.
Read MoreA Case for Combining Workholding with Optical Scanning
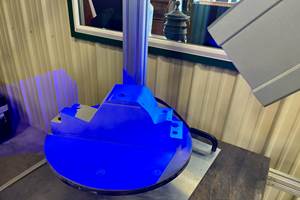
Automotive dies and die inserts are often complex, one-off parts with little room for error. Integrity Tool's investments in modular workholding tools and 3D optical scanning have allowed the company to create niche capabilities for its CNC machined parts.
Read MoreRead Next
3 Mistakes That Cause CNC Programs to Fail
Despite enhancements to manufacturing technology, there are still issues today that can cause programs to fail. These failures can cause lost time, scrapped parts, damaged machines and even injured operators.
Read MoreThe Cut Scene: The Finer Details of Large-Format Machining
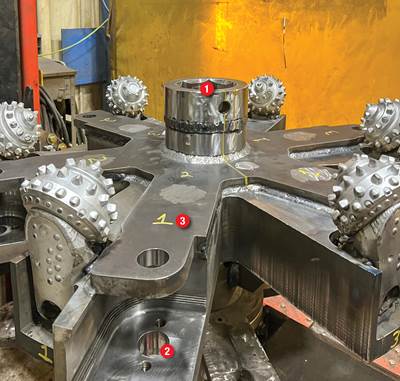
Small details and features can have an outsized impact on large parts, such as Barbco’s collapsible utility drill head.
Read More






.png;maxWidth=300;quality=90)


.png;maxWidth=300;quality=90)


