
Seven Tips to Ensure Accurate Probing
When used correctly, probing can have significant cost, efficiency and quality benefits.
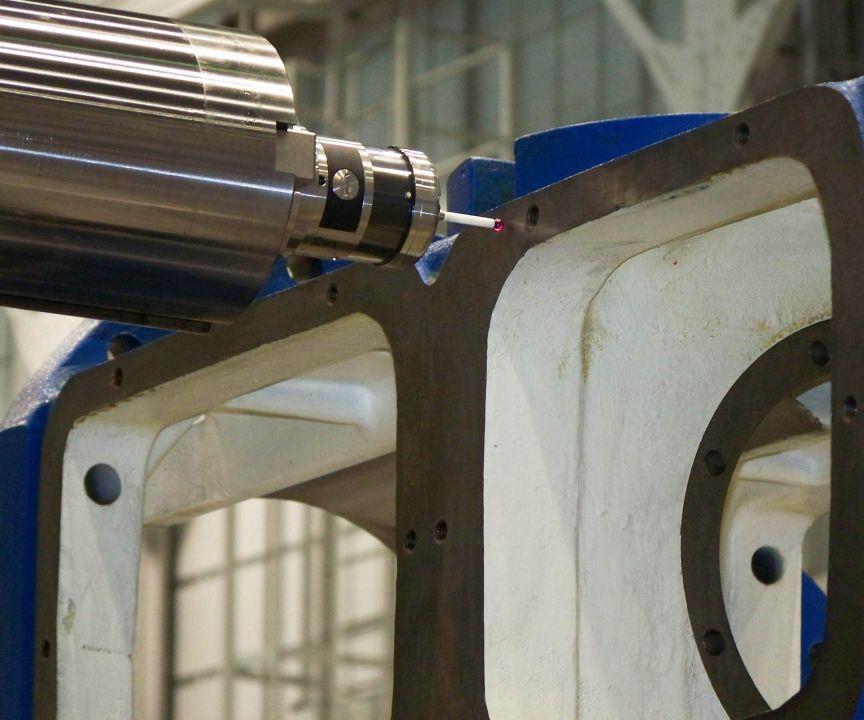
Single point probe hit measures the location of the surface relative to machine zero for the W or Z axis
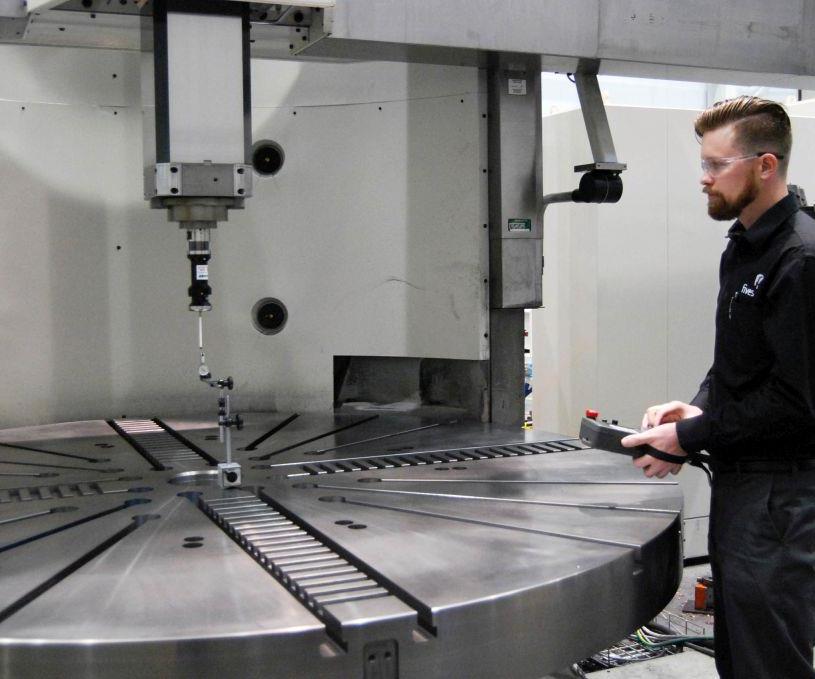
Setup and process to indicate a probe and insure that it is lined up on center.


The majority of customers who buy Fives Giddings & Lewis machine tools also invest in probing. When used correctly, probing can have significant cost, efficiency and quality benefits. Our experience working with customers in the field, however, shows that probing is often underutilized because operators are not familiar with best practices. The following tips are intended to help operators use probes to make machining processes more precise and efficient.
1. Clean the surfaces you are measuring. This is important for both calibration and part measurement. Dirty surfaces will produce false readings affecting calibration offsets and subsequent part measurements. A clean surface ensures accurate measurement results and, ultimately, better part quality.


2. Maintain the probe quality and geometry. Is the stylus assembly tight? Does it look out of square? Was the probe dropped or hit? Any of these will cause measurements to be off. Treat your probe with the same care as any other precision measuring device.
3. Calibrate the probe regularly to maintain accuracy. Calibration is performed using an artifact (a standard of known, measured size). If you do not have an artifact such as a calibration sphere, a qualified feature on the machine, tool or fixture can also be used. When our application experts work with customers who measure with hand tools, they often ask multiple operators to measure the same feature. It’s not unusual to get different values from different operators. The quality of the data input determines the calibration of the probe and ultimately part precision,
4. Use an artifact or calibration gage as close to the part or feature size as possible. This will yield the most accurate calibration. For example, if the part to be measured is 20 inches in diameter, try to use an artifact that is close to that size. It helps to maintain the aspect ratio as close as possible.
5. When probing, make sure the stylus tip, not the probe shank, contacts the part.
6. Verify the accuracy of your work offsets or measurement reference. This establishes the basis for measurement of feature location. If the measurement reference is not accurate, the probe measurements will be skewed. An inaccurate part setup, not at part zero for example, affects probing results.
7. If the probe does not have automatic shutoff, turn it off to save the battery life. The next operator will thank you.
In addition to setup benefits, probing's in-process advantages include the automated measurement and updating of tool offsets. The alternatives to probing during setup–touching off with a tool, using an edge finder or manual measurements–are all less precise and more time consuming. Bottom line, probes reduce cycle time and the opportunity for human error (and resulting scrap), while improving part quality.
Related Content
-
Parts and Programs: Setup for Success
Tips for program and work setups that can simplify adjustments and troubleshooting.
-
Building an Automation Solution From the Ground Up
IMTS 2022 provides visitors the opportunity to meet with product experts to design automation solutions from scratch.
-
How to Calibrate Gages and Certify Calibration Programs
Tips for establishing and maintaining a regular gage calibration program.


