The Versatility of a Scribing Height Gage
These devices can do more than just measure height.
The need for long-range height measurement has been around since the principles of layout work became a fundamental requirement in machine shops.
The first step in the manufacturing process is to lay out a piece by transferring a design or pattern to a workpiece. This is performed in almost all small shops, in large manufacturing plants and even by home hobbyists. The process may be used to begin a prototype piece or an emergency replacement part. The common tools for layout work include a surface plate, a surface gage with scriber or dial indicator, and a long-range height gage.
The height gage is a conceptual extension of the handheld caliper gage, except that it rests on a heavy base that keeps the scale square to the surface. Height gages have a beveled pointer on the moveable jaw that can be used to mark or scribe the part. Or, by setting the reference height on the base surface, the scribing point can be used to find a height characteristic on a part and display it on the gage’s readout.
What are the basic types of height gages?
There are three types of basic height gages. The classic vernier height gage has been around for 100 years or so and is still used by those true machinists who feel very comfortable counting the grads to make sure their readings are correct. The circular scale height gage uses a dial indicator to set the measurement height. Finally, the most recent addition to the lineup is the digital height gage, which allows for direct reading of the height or even setting zero locations at places other than the reference surface plate.
Height gages are available in sizes ranging to 72 inches, and usually incorporate a rapid hand crank or motor to help speed positioning and a scribing attachment that allows for positioning to 0.001 mm (0.0005 inch). There are also models that incorporate a quick-adjusting release that allows the moveable scribing point to move directly to the desired reading and then zero in using a built-in, fine-adjustment mechanism.
How do you use a height gage?
Using a height gage is simple: Place the workpiece on the surface plate, then bring the gage’s scribing pointer to the reference surface. Visually ensure that the pointer is flush to the surface plate by looking for light coming through where the contact touches the surface plate. Also look for warped or angled conditions in the scribing point, as they will add a bias to your reading.
Once you have verified that the contact is flush with the table, zero the height gage. With the new digital versions, this is an easy, single-keystroke function. Now you’re ready to begin scribing your workpiece. If the part needs to be inspected, set the gage’s reference to zero as described above and then bring the gage to the part and gently touch the scribing point to the position to be measured. With an electronic height gage, it is easier to measure point-to-point dimensions by zeroing at each starting point and then directly reading the change in height at various locations.
One of the great things available with these basic height gages is that the scriber point is replaceable. Originally this was because the scribing point would become worn and had to be resharpened or replaced. Now this replaceable point can also be exchanged for different purpose tips and adapters, allowing expanded capabilities of the height stand.
A common adapter is for a test indicator. Test indicators often have a higher resolution than the digital height gage. This is an advantage as it can turn the digital height gage into a very high-resolution transfer stand. The test indicator is set to zero using a gage block or other master and then slid along the surface plate to the part under test, which is then compared to the reference standard. Or, using the reference pads built into the base and a little additional fixturing, the test indicator and stand can become a basic perpendicularity gage by zeroing on the base of the part and moving up the part to inspect for out-of-square deviations.
Another application for the basic digital height gage is as a holder for other measuring devices. Adapters that allow the height gage to hold surface-finish gages or their probes are available. This eliminates the need for a separate bench stand.
Related Content
Selecting The Right Welder
Many machine shops, on occasion, have a need for welding. It may be for maintenance purposes, repair or to fill the odd contract. This story is a welding process primer for those shops whose main business isn't welding but need to know some basics.
Read MoreUnderstanding Errors In Hand-Held Measuring Instruments
Different instruments (and different operators) are prone to different errors.
Read MoreA New Milling 101: Milling Forces and Formulas
The forces involved in the milling process can be quantified, thus allowing mathematical tools to predict and control these forces. Formulas for calculating these forces accurately make it possible to optimize the quality of milling operations.
Read More10 Tips for Titanium
Simple process considerations can increase your productivity in milling titanium alloys.
Read MoreRead Next
The Cut Scene: The Finer Details of Large-Format Machining
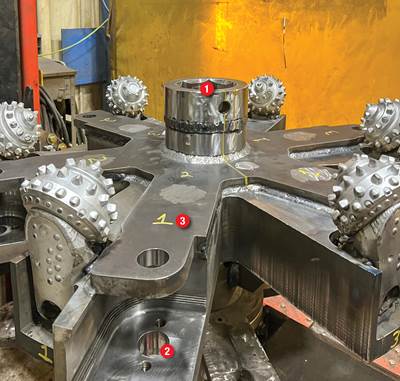
Small details and features can have an outsized impact on large parts, such as Barbco’s collapsible utility drill head.
Read More3 Mistakes That Cause CNC Programs to Fail
Despite enhancements to manufacturing technology, there are still issues today that can cause programs to fail. These failures can cause lost time, scrapped parts, damaged machines and even injured operators.
Read More






.png;maxWidth=300;quality=90)

.png;maxWidth=300;quality=90)


