
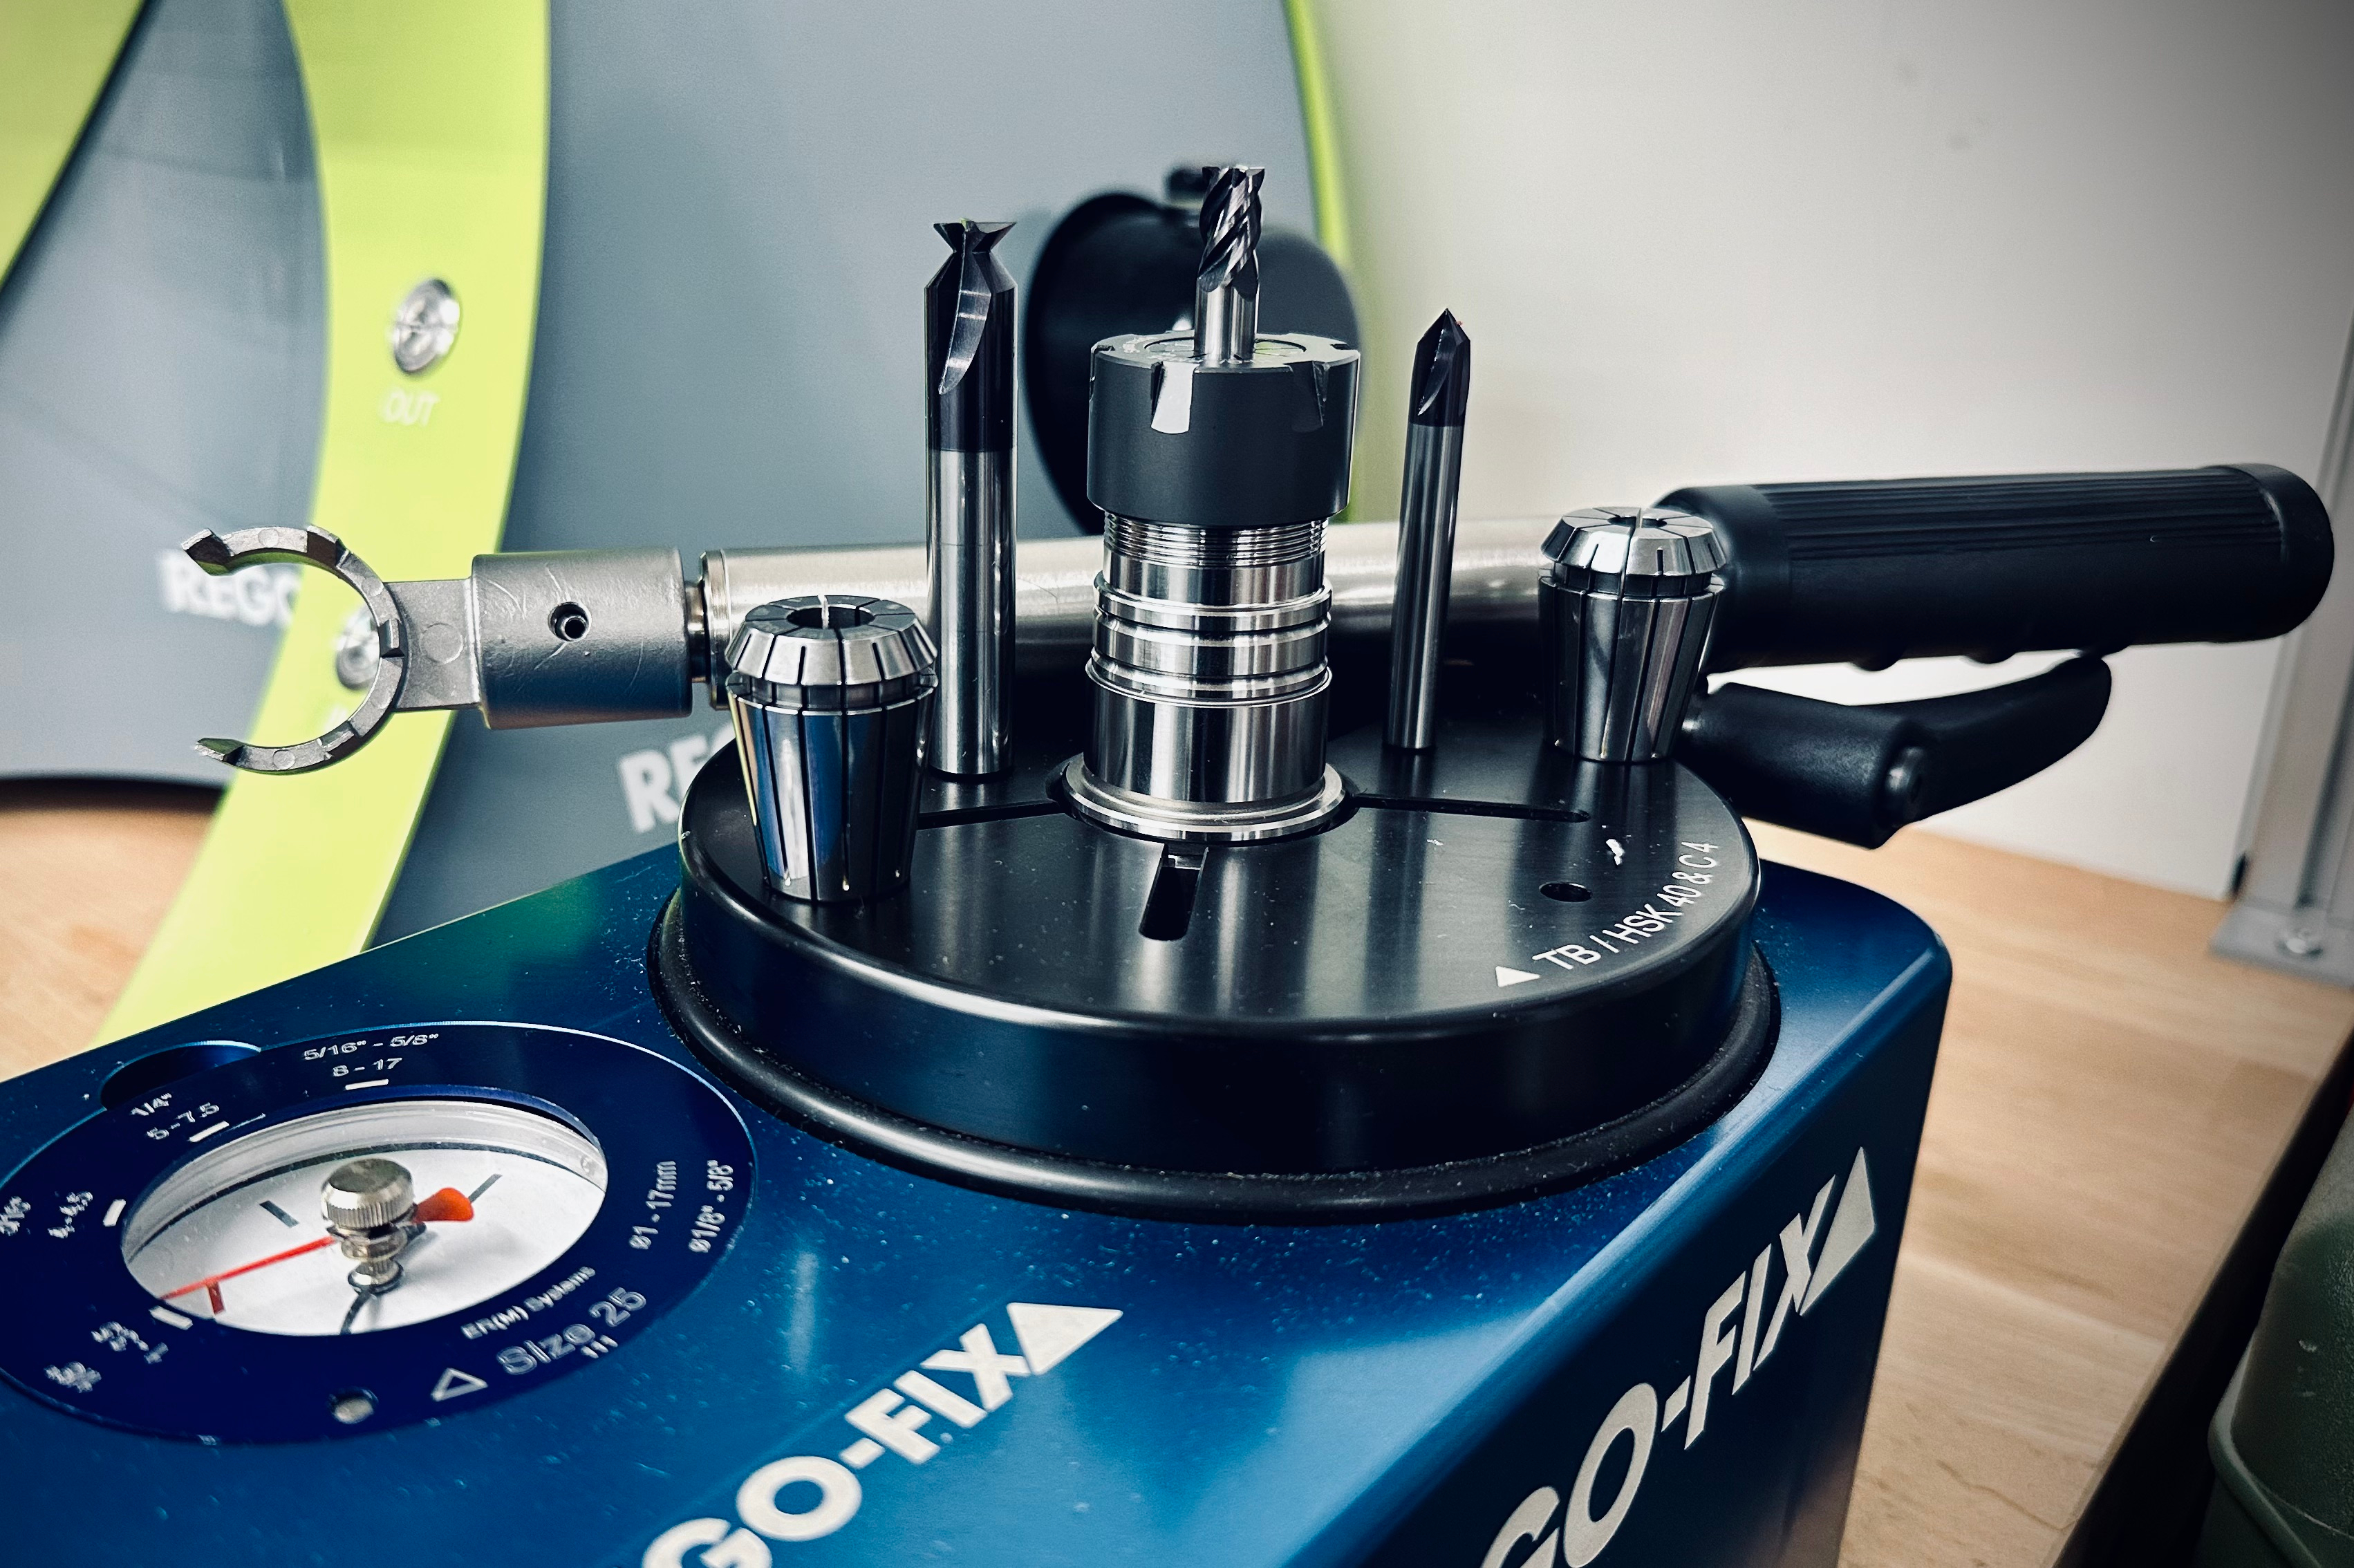
Making the Most of Mixed Toolholder Assemblies
While nearly all ER systems will have cross compatibility, they’ll have small differences across manufacturers that make their implementation at the shop level not as standard.


Reader Question:
As our shop has grown, either due to cost or availability, our toolholders are in disarray. We have many collets, collet nuts and toolholders from multiple manufacturers, and we often end up with mixed assemblies. To make it even more complicated, each of these manufacturers have very different recommended torque specs, even for the same sizes. What’s your advice on achieving the best results without damaging tools or toolholders due to over-torquing?
Miller’s Answer:
ER collets have proven to be one of the biggest advancements in our industry since their invention in 1972 and standardization in 1992. This standardization furthered its adoption until today, but also leads to the issues you’re seeing now. While nearly all ER systems will have cross compatibility, they have small differences across manufacturers that make their implementation at the shop level not as standard. Collet nut design, care in manufacturing, finishes and coatings all play a role with how well a mixed assembly can perform.


One of the biggest contributors you see with the difference in recommended torque is the final finish and precision of the collet, collet nut and toolholder. For example, a highly polished collet and taper, with a more precise collet nut and toolholder, will require less torque to achieve the same amount of grip force than a less precise toolholder with a dull coating or no final polish. The reason is the smoother, more precise fit means less wasted force overcoming friction during tightening of the collet nut. This means that less input torque is required to achieve the same amount of interference required to grip the tool. Another way to look at it is two assemblies from two manufacturers torqued to the same value will have a different final grip force of the cutter.
Understanding the reason why we see differences is helpful, but it doesn’t give us a definitive answer when clamping a mixed assembly. Obviously, this uncertainty is not consistent with processes with high level of control and attention to detail; therefore, my first recommendation would be to keep like with like and use that manufacturer’s recommendations. With that caveat out of the way, I’d be a liar to say I haven’t mixed assemblies in a pinch, so if you absolutely cannot keep the tool inventory consistent, then the next best thing is to stick with the principles of good tool assembly.
There are three key characteristics that determine a good assembly. First is a suitably balanced assembly, second is minimizing the run out of the tool and third is gripping the tool with the appropriate amount of force. The tool balance improves surface finish and over time promotes good spindle life. Minimizing tool runout means that tools cut truer to size, increasing our ability to make good parts on the first try, and can greatly improve tool life, as one flute is not leading the cut and taking on more damage. Grip force is also important, as it can help stabilize the tool in the toolholder and reduces the risk of pull out. I use the word “appropriate” because not every cut is a heavy roughing operation, so grip force only needs to be suitable for the task at hand.
Keeping in mind the principles behind good tool assembly, there are some things you can do make the situation better. First, the tool should be very clean, and should have a little oil applied. This makes the surfaces as smooth as possible to reduce any losses from friction and ensure the torque you are inputting is getting through to the collet and tool.
Second, if you know multiple manufacturers recommend different torque values, start with the lowest known value. At a bare minimum, it’s tight, and likely you’re not inducing any new runout. If you witness the tool pulling out, you can work your way up from there.
Once assembled, you’ll want to measure the tool with as many means available. Of the three principles above, one can be measured easily, one requires an expensive tool not seen in every shop and the third is not practical. In my opinion, at a bare minimum, all tools should be checked for runout for every process at least at the pre-setter, if not at the machine itself. It’s a fast check and yields big results. The balance is harder to check, as balancing equipment can be costly for a shop on the rise. To mitigate this risk, stay below the max balance of the stated tool. Typically, the manufacturer will have a max rpm and G rating for the balance, say 2.5G at 10,000 rpm. In this case, staying below 10,000 rpm is a must, because balance cannot be guaranteed for a mixed assembly. The machine itself can also give you some feedback, whether via a sensor reading you view on the controller or your ears. Lastly, the grip force is simply not possible to check, but sticking to a reasonable torque based on the manufacturer’s data, and actual cutting results, can be your guide.
One more solution that may be helpful is to think about where these toolholders fit into your overall process. Instead of throwing together something based on what is laying around, take an inventory of your tools and try to consolidate them. Use your best, newest tools for critical finishing tools to ensure quality parts. The roughing tools may suffer, but at least they are not responsible for any print dimensions. Good processes are made through a series of micron-level improvements across the entire machining system. Doing your absolute best with what you have through careful assembly and measurement will put you on that path.
Do you have a machining question? Ask the expert. John Miller leans on more than a decade of industry experience to answer machining questions from MMS readers. Submit your question online at mmsonline.com/MillersEdge.


Related Content

Jergens Pull Studs Enable Quick Changeovers
SP140 and K02 pull studs offer quick-change solutions for vise or gripper jaws, electronic component manufacturing, packaging machines, medical technology and automation.
Read More
Quick-Change Collet Chuck Doubles as Mandrel
The hybrid Comot-AZ quick-change collet chuck from SMW Autoblok can be used for OD machining and can be transformed into an expanding mandrel for ID clamping using the EMX series.
Read More
Quick-Change Tool Heads Reduce Setup on Swiss-Type Turning Centers
This new quick-change tooling system enables shops to get more production from their Swiss turning centers through reduced tool setup time and matches the performance of a solid tool.
Read More
How to Troubleshoot Issues With Tool Life
Diagnosing when a tool is failing is important because it sets an expectation and a benchmark for improvements. Finding out why gives us a clue for how to fix it.
Read MoreRead Next

3 Mistakes That Cause CNC Programs to Fail
Despite enhancements to manufacturing technology, there are still issues today that can cause programs to fail. These failures can cause lost time, scrapped parts, damaged machines and even injured operators.
Read More

The Cut Scene: The Finer Details of Large-Format Machining
Small details and features can have an outsized impact on large parts, such as Barbco’s collapsible utility drill head.
Read More