
Six Times to Include Messages in CNC Programs
CNC machines allow users to include clarifying messages within the G code, which can be an easy way to communicate with other operators.
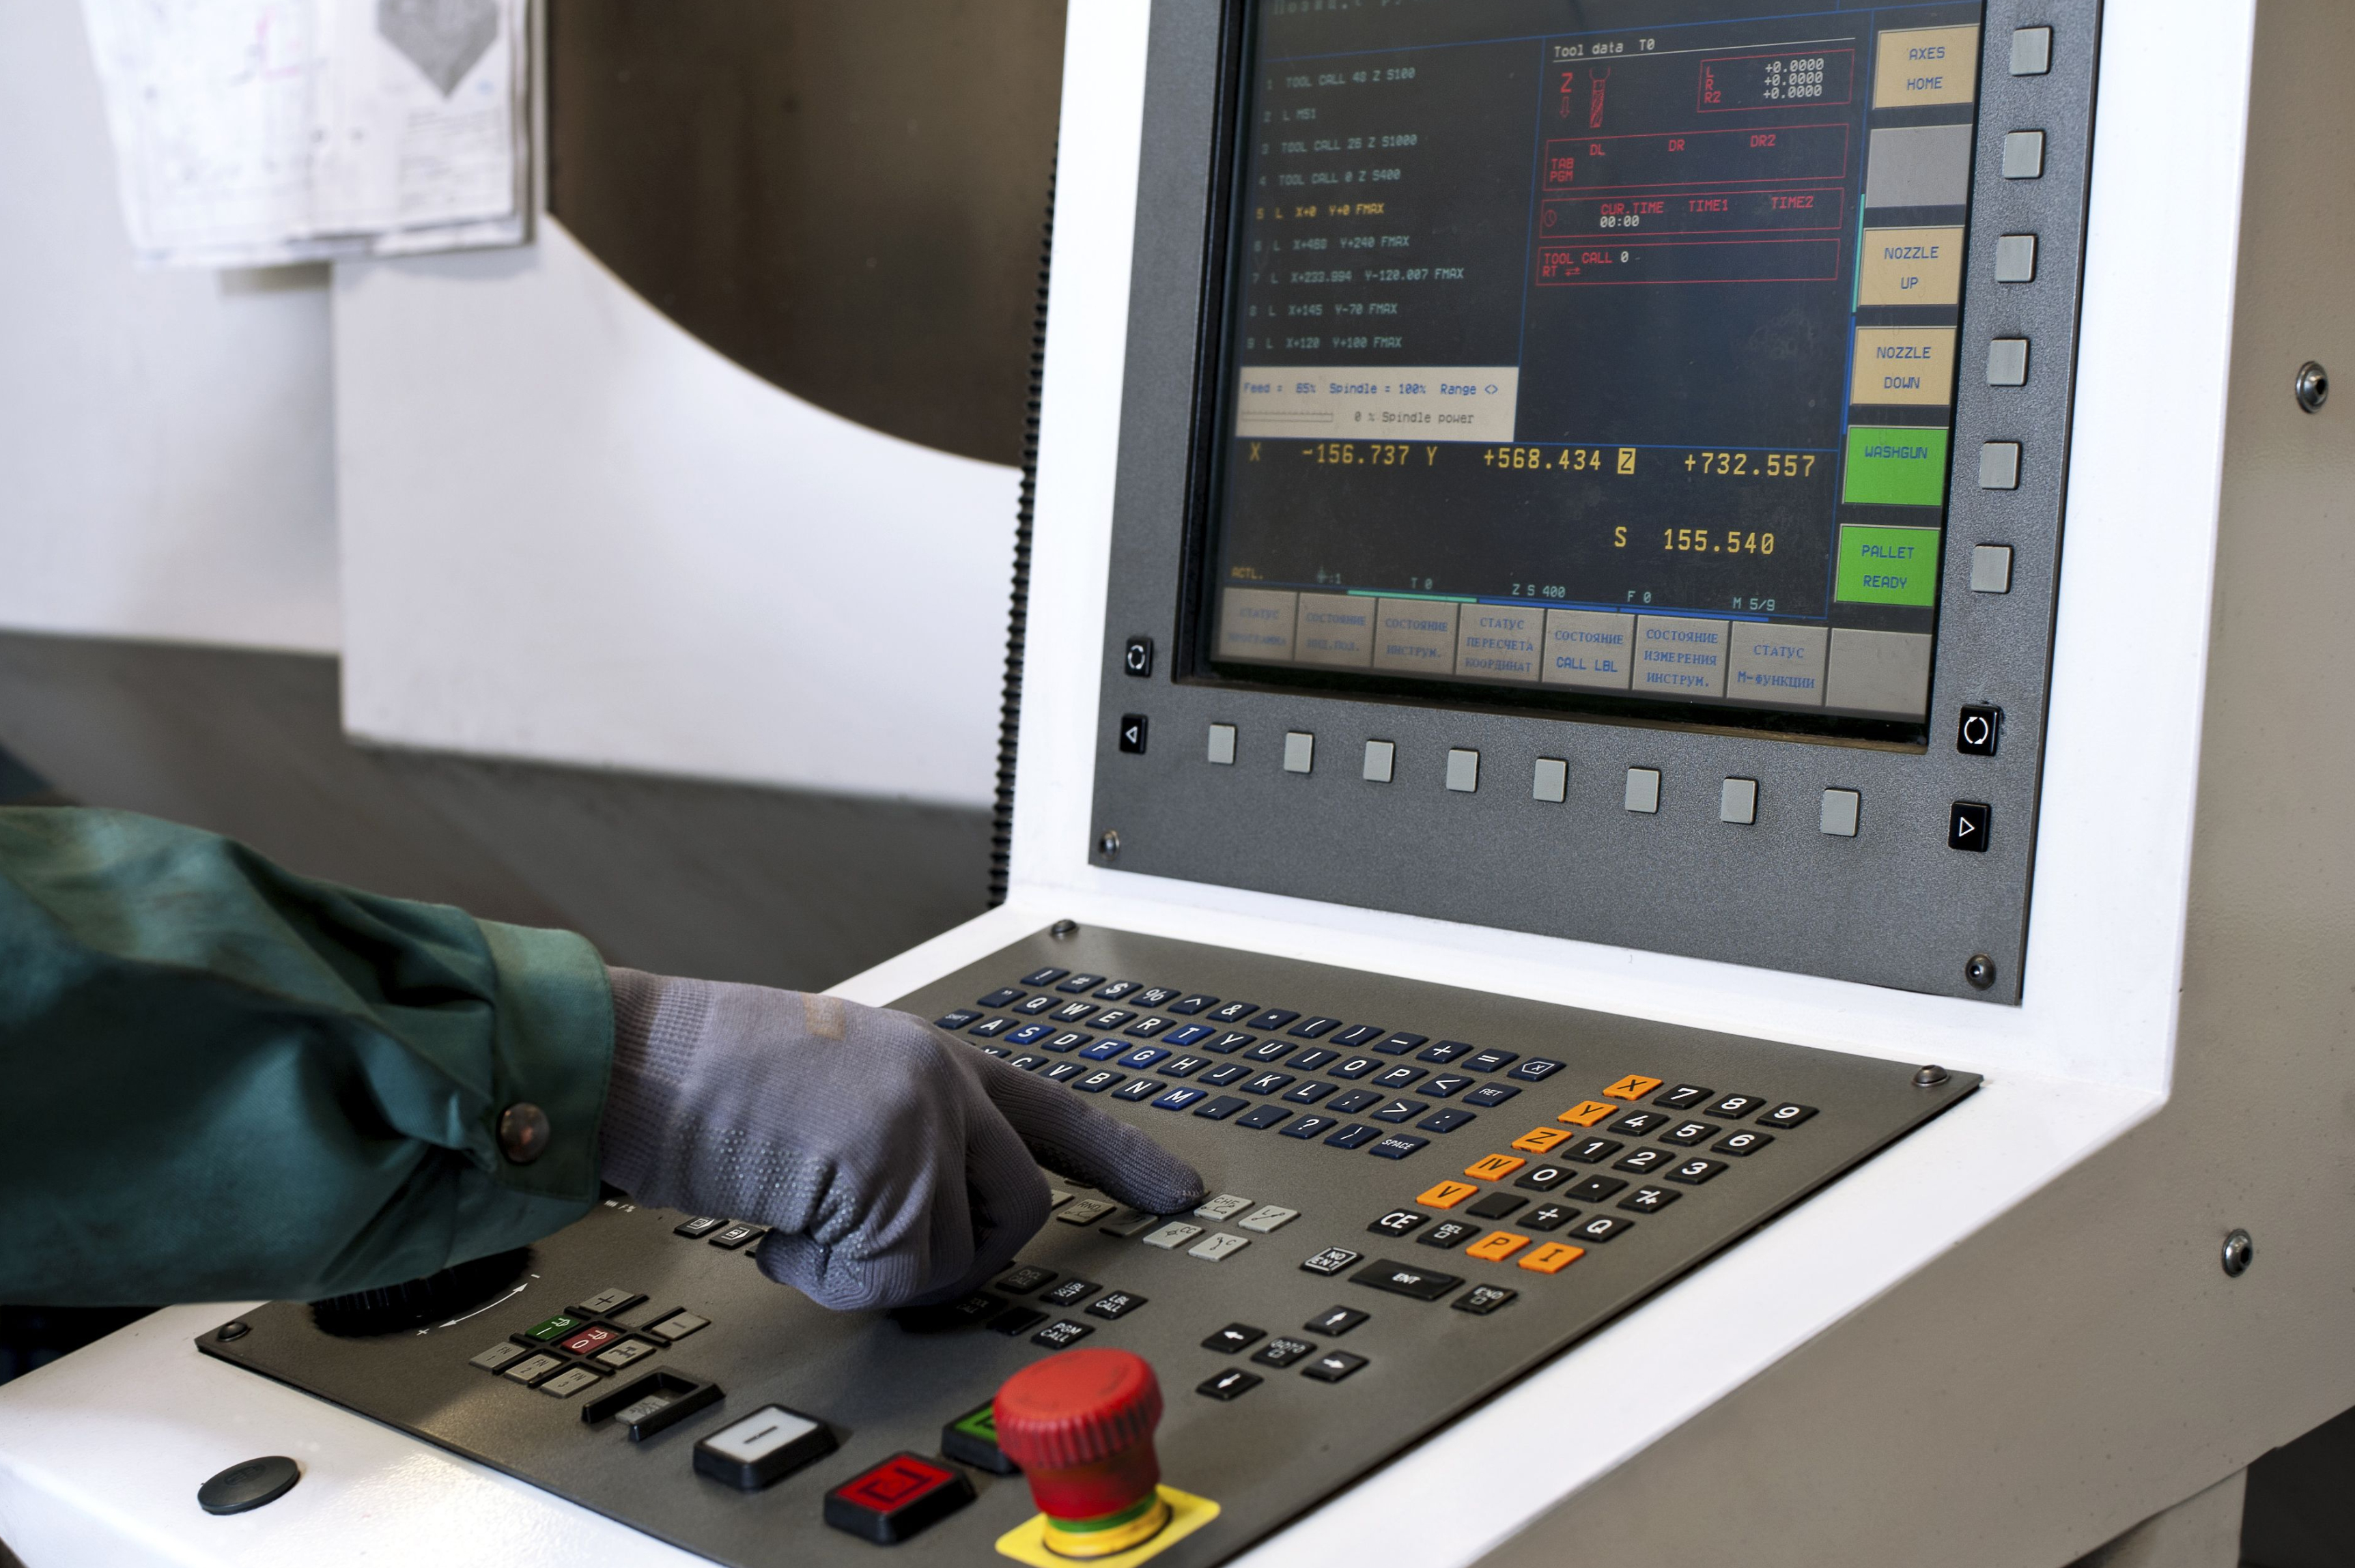
.jpg;width=70;height=70;mode=crop;format=webp)


I see way too many CNC programs made up exclusively of the G-code commands needed to machine a workpiece. All CNCs allow users to include clarifying messages (commonly delineated by parenthesis) within the G code. Messages are easy to include in CNC programs, even when entering them through the CNC’s Manual Data Input (MDI) keyboard.
Here are six times operators should include messages in CNC programs:


1. Program headers
Start each program with a series of messages that describe the program. Information should include anything that helps the CNC operator know that they are running the right program, including (at the very least) part name, part number, revision specification, programmer, date created and run time. For example:
- O0001
- (MACHINE: MORI SEIKE SL4)
- (PART NUMBER: A-2355-2C)
- (PART NAME: BEARING FLANGE)
- (REVISION: F)
- (CUSTOMER: ABC COMPANY)
- (OPERATION: 20, MACHINE BORED END)
- (PROGRAMMER: MLL)
- (DATE FIRST RUN: 4/11/16)
- (PROGRAM REVISION: C)
- (LAST PROGRAM REVISION: 1/30/20 BY CRD)
- (RUN TIME: 00:05:25)
- N005 T0101 M41
Of special note are revision and run time. There may be several versions of the program floating around due to design engineering changes, so leadership must provide the operator with a way to confirm that they are using the correct program. As for run time, after running the job for the first time, including run time in the program header will let people know how long the program takes to run even when the job is not currently running.
2. At the beginning of every tool
If handled properly and consistently, messages placed at the beginning of every tool will serve two purposes. First, and most importantly, operators will understand the cutting tool and/or machining operation(s) being performed. They can additionally determine information about the perishable portion of each cutting tool, like insert size or number. Second, if you always place these messages just before the first G-code command for each cutting tool, the operator will know the restart block for each tool. It will always be the command right after the last message for the tool. For example:
- N145 M01 (End of previous tool)
- (ROUGH FACE AND TURN TOOL)
- (INSERT: CNMG-432)
- (ROUGH MACHINES FACE AND ROUGH TURNS UP TO 5-IN SHOULDER)
- N150 T0303 M41
3. At the end of each tool
The idea here is to help people performing setup size in each cutting tool as they run the first workpiece. It can also be helpful for operators during production runs after replacing dull tools. If a CNC allows cutting tools to be rerun, as machining centers and fixed headstock turning centers do, there is likely an M01 optional stop at the end of each tool that allows the setup person or operator to stop the machine and check what the tool has done.
This is the perfect place to insert a series of messages specifying what the cutting tool should have done. Messages can be specific, keeping the setup person from having to reference the workpiece drawing or other documentation, or they can be used to perform calculations, as this example shows:
- M01 (Optional stop at the end of the tool)
- (LARGE DIAMETER MUST CURRENTLY BE 4.08-IN TO ALLOW FINISHING STOCK)
- (DISTANCE FROM END TO FIRST SHOULDER SHOULD CURRENTLY BE 1.505-IN)
If this is done for each tool, the setup person can easily check machined surfaces while running the first workpiece. If necessary, they can also adjust the related offset(s) and rerun the tool.
4. When making program changes
We tend to have a rather cavalier attitude about changing programs. While most changes may be appropriate, some may cause future issues. It is not uncommon, for instance, to forget why a change was made in the first place. Additionally, there may be times when users are asked to make changes they do not agree with. Get people in the habit of inserting a message in the program every time a change is made. Include what the command was originally, why the change was made, who made it and when it was made. Here is an example:
- N100 T0303 M41
- N103 G96 S600 M03 (SPEED INCREASED FROM S500 FOR EFFICIENCY 3/20/21 PER WC)
- N105 G00 X1.585 Z0.1 M08
- N110 G01 Z0 F0.015 (FEED INCREASED FROM F0.011 FOR EFFICIENCY 3/20/21 PER WC)
- N115 X1.46 Z-0.0575
5. At every program stop
As the name implies, program stop commands (M00) will cause the machine to stop. All machine functions, like spindle and coolant, will be turned off. It is at this point when an operator is expected to do something. Be sure to specify exactly what it is that the operator is supposed to do, as this example shows:
- N135 M00
- (REDUCE CLAMPING PRESSURE FOR FINISHING OPERATIONS)
6. When doing something out of the ordinary
There are times when you need to do something in a program that you do not normally do. Whenever this happens, be sure to make it clear with messages in the program. Place the related messages right at the beginning of the program so they cannot be missed. For example:
- O0002 (Program number)
- (***************** SPECIAL NOTE ****************)
- (THE GROOVING TOOL IN STATION #5 USES TWO OFFSETS.)
- (OFFSET #5 CONTROLS THE GROOVE IN THE 1.375 INCH DIA.)
- (OFFSET #25 CONTROLS THE GROOVE IN THE 4.25 INCH DIA.)


Related Content

How this Job Shop Grew Capacity Without Expanding Footprint
This shop relies on digital solutions to grow their manufacturing business. With this approach, W.A. Pfeiffer has achieved seamless end-to-end connectivity, shorter lead times and increased throughput.
Read More
6 Machine Shop Essentials to Stay Competitive
If you want to streamline production and be competitive in the industry, you will need far more than a standard three-axis CNC mill or two-axis CNC lathe and a few measuring tools.
Read More
Swiss-Type Control Uses CNC Data to Improve Efficiency
Advanced controls for Swiss-type CNC lathes uses machine data to prevent tool collisions, saving setup time and scrap costs.
Read More
6 Steps to Take Before Creating a CNC Program
Any time saved by skipping preparation for programming can be easily lost when the program makes it to the machine. Follow these steps to ensure success.
Read MoreRead Next

Obscure CNC Features That Can Help (or Hurt) You
You cannot begin to take advantage of an available feature if you do not know it exists. Conversely, you will not know how to avoid CNC features that may be detrimental to your process.
Read More
3 Mistakes That Cause CNC Programs to Fail
Despite enhancements to manufacturing technology, there are still issues today that can cause programs to fail. These failures can cause lost time, scrapped parts, damaged machines and even injured operators.
Read More
The Cut Scene: The Finer Details of Large-Format Machining
Small details and features can have an outsized impact on large parts, such as Barbco’s collapsible utility drill head.
Read More