-
-
SPONSORED
-
SPONSORED
-
Basics
How to Match Thickness Gage Types to Proper Applications
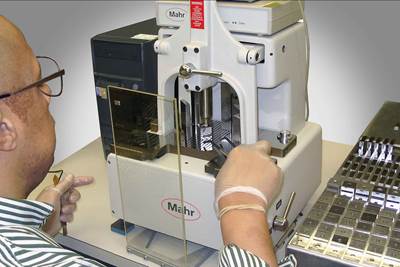
Different thicknesses require different gage types during inspection — four common ones are handheld indicators, handheld micrometers, opposed air streams and gage blocks.
Read MoreWebinar | Automated CNC Machine Setup for the Smart Factory
Learn how to maximize the value of your CNC equipment through automated setup with Jon Caliguri of DSI.
Read MoreChoose the Correct ID/OD Gage for the Task
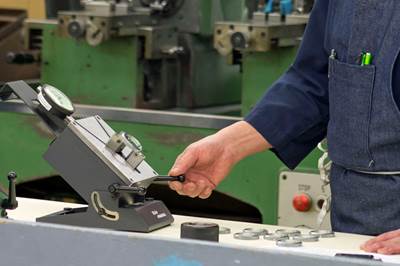
Benchtop and portable comparator gages each have their place, but the differences are more than surface deep.
Read MoreConfirming Dimensional Accuracy of a Precision Ball
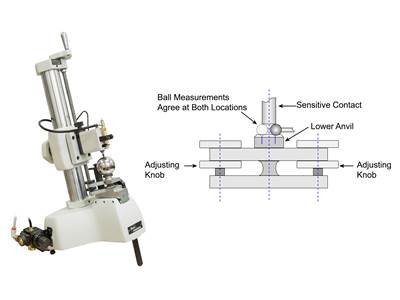
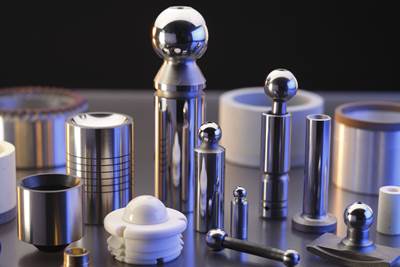
A single diameter isn’t the only measurement parameter that can be used to ensure accuracy.
Read MoreT Codes Simplify Tool Length Confirmation Process
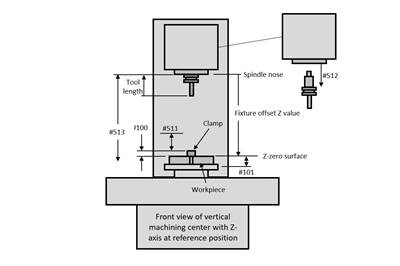
CNC users can program custom macros and T codes to ensure cutting tools are the proper length for tool length compensation in machining centers.
Read MoreHere Is Why Knust Godwin Decided to 3D Print Mission Critical Parts
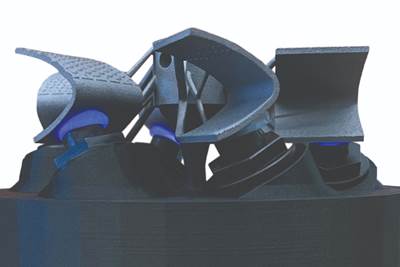
Knust Godwin introduced metal 3D printing into its precision-machining environment nearly eight years ago. Now the company is using the capability to break through into new applications and give 3D printed mission-critical parts a renewed business case.
Read MoreAn Introduction to Superfinishing
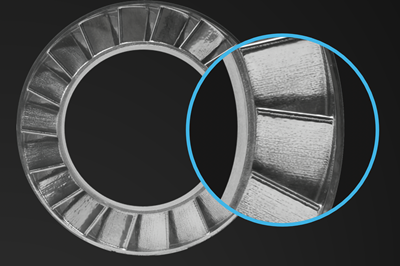
Learn what superfinishing is, what applications it should be used for and why you should take care when specifying surface finish parameters.
Read More"Soft" Automation is Long Overdue
Digitalizing and systemizing the clerical work of quoting and quality control is more achievable and more urgent than ever.
Read MoreChoosing Workholding to Meet Machining Challenges
When it comes to workholding, shops can choose from options that can provide flexibility, help increase throughput and enable five-axis machining.
Read MoreWhen to Use 2D or 3D Surface Measurement
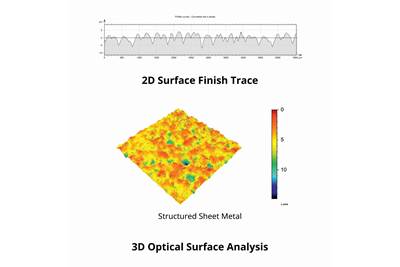
Instead of committing exclusively to 2D or 3D surface measurement, shops should consider their use cases.
Read More.png;maxWidth=728;quality=90)




.png;maxWidth=300;quality=90)


